Your cart is currently empty!
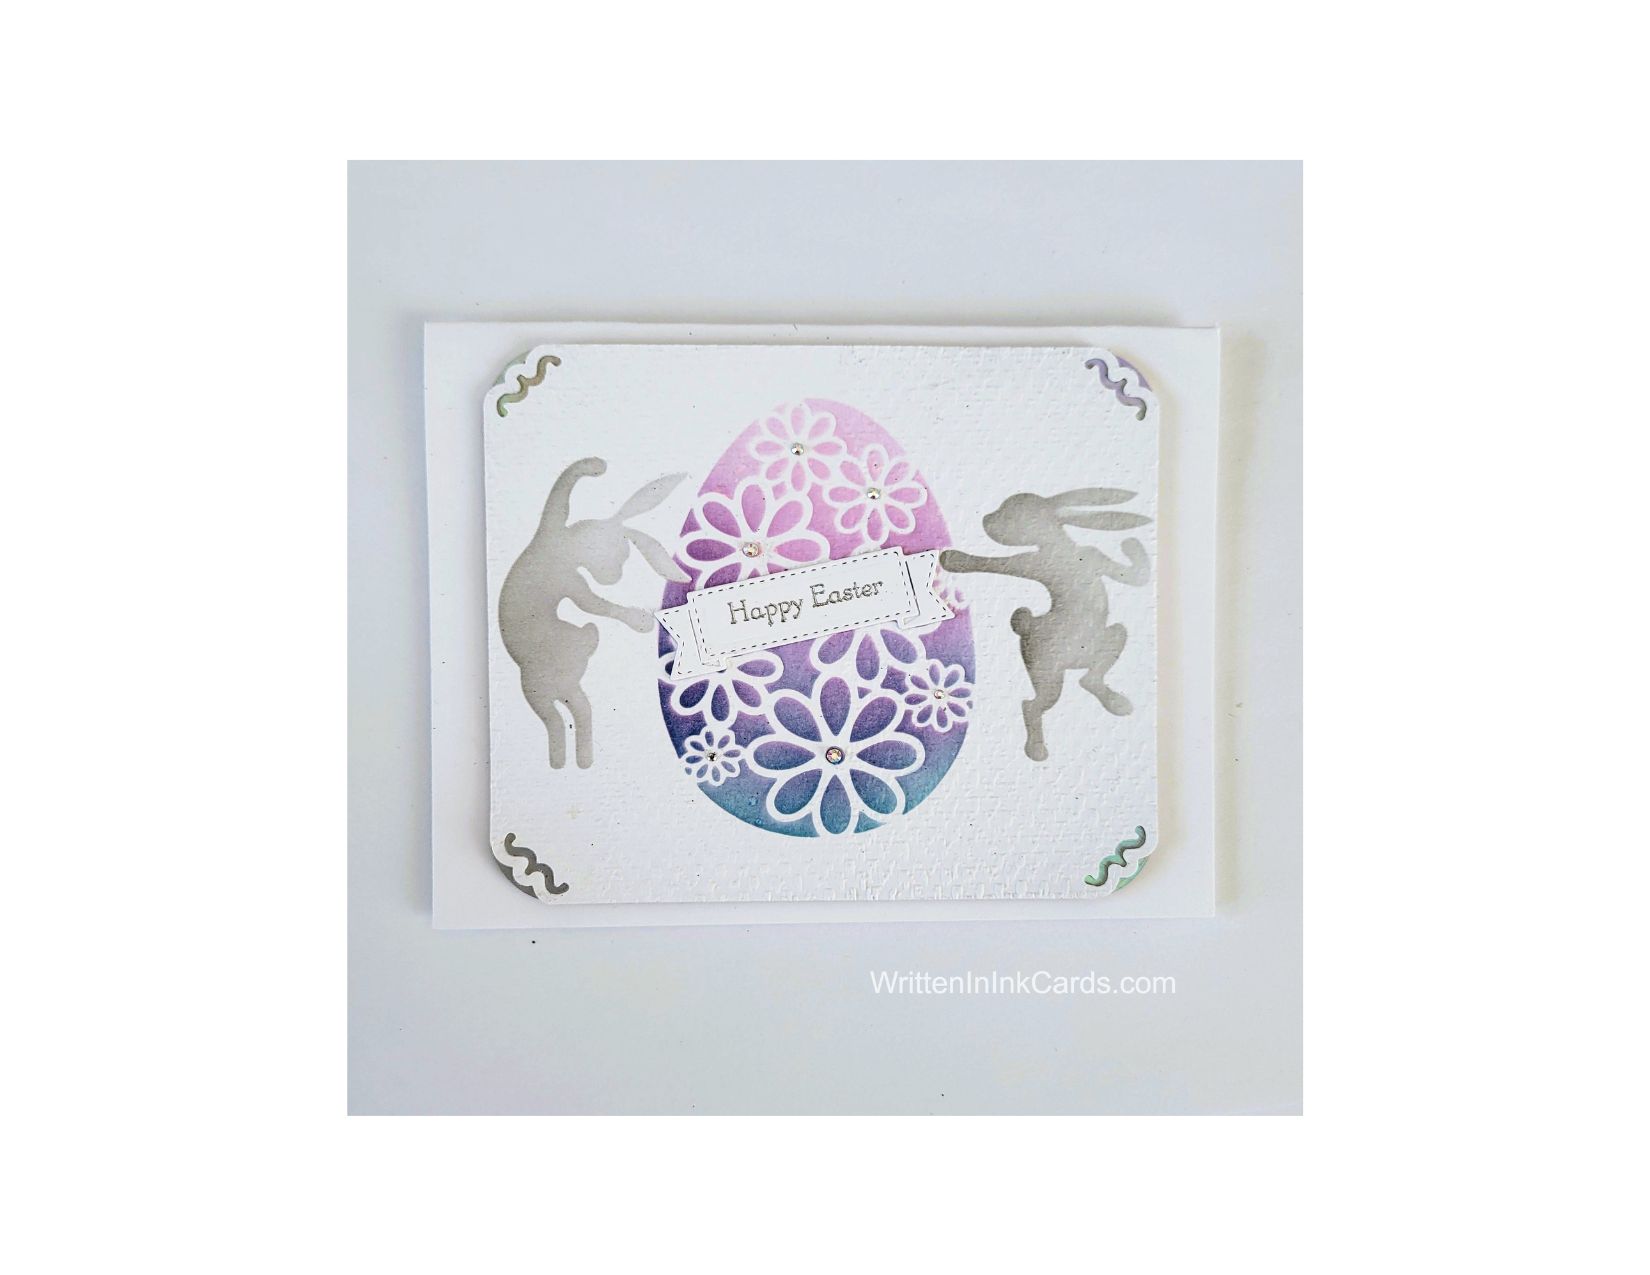
Say I love you with a whimsical handmade Easter card

Would you like to experiment with a design like this? You’ll find a supply list below, including a link to the stencils I used from A Colorful Life Designs. Follow the link and use discount code ChrisFan10 to save 10% on your entire order! (Master Creator Bundles are excluded as they already have a 20% discount built in.)
Easter means bunnies, chocolate, and celebrating traditions created over the years. Sending a card is a wonderful way to send a hug to someone you can’t be with.
Let’s get Started:
Card Base: 5.5 x 8.5, scored and folded at 4.25
Border Layer: 5 x 4
Card Face: 5 x 4
Card Face:
- After laying the card face on my Grip Mat, I positioned the Easter egg stencil.
- I applied blue ink to the bottom and pink ink to the top, going back and forth between the two colours until I got a smooth blend where they met.
- After removing that stencil, I positioned the bunny stencil so that the bunny on the right was in the correct position.
- I masked off all necessary areas around the bunny and applied gray ink across the exposed surface.
- I repositioned the stencil to place the bunny on the left in the right spot, and again added gray ink after masking off all necessary areas.
- I used a punch on all four corners of the card face to create the peek-through design.
Other:
- Using a scrap piece of cardstock, I stamped the Happy Easter sentiment with Versamark embossing ink.
- I sprinkled this with silver embossing powder and set it with my heat gun.
- I ran this through my Big Shot and cut it down with a small banner die.
- I applied gray ink to the corners of the border layer. (This ensured a match to the bunnies on the card face, and was more economical than using a piece of cardstock.)
Assembly
- I put dimensional foam on the back of the border layer, and then glued the card face on top of this, allowing the gray ink to show through the punched-out design.
- I centered this on the card base.
- I glued the banner on top of the Easter egg, in between the bunnies’ hands.
- I added tiny rhinestones to the center of the flowers on the Easter egg.
Final Thoughts:
I love these two stencils together: I’ve been eyeing the Bunny Dance stencil for a while now, and I’m so happy that I got it.
Supplies: (and links where possible)
I have listed which products I have used, and where they may be purchased. It’s a huge marketplace and in most instances, there are multiple sources and many alternatives to choose from.
Stencils:
Cute Easter Egg: A Colorful Life Designs
Bunny Dance, A Colorful Life Designs
Waffle Flower Grip Mat: Scrapbook.com
Versamark Embossing Ink: Simon Says Stamp
Silver Embossing Powder: Hero Arts, Simon Says Stamp
Ink: Stampin’ Up!
Blending Brushes: Stampin’ Up!
Adhesive: Tombow Aqua: Michaels
Card Base & Card Face: Accent 100 lb., Amazon
Do you have comments or thoughts to share on this design? Drop me a line in the Comments Section below – I’d love to hear from you!
You can also use the Comments Section to be added to the Notification list, and be contacted when I release new work.
Leave a Reply